
In my last post on Musket & Pike, I talked about the mechanics and play. Now, I’d like to take a look at the scenarios. While it offers an incredibly fun and easy to pick up gaming experience, does it offer much as a historical wargaming simulation? Ultimately, no.
My dad and I had the opportunity to play through three of the sample scenarios: White Mountain, Breitenfeld and Killiecrankie.
White Mountain
White Mountain is probably the closest the game has to a “tutorial” scenario, with a “3” on its complexity scale (which ranges from 1-10 based on criteria which are unknown to me) and a “balanced” rating.
As mentioned before, the setup was slightly ahistorical, but not in a way that substantially affected how the game turned out. White Mountain should be larger, there should be a small river, and there two towns instead of one, but it retains a force attacking from a small settled area against forces on higher ground.
It delivered a close to historical outcome in that the Bohemians were almost completely routed. I still won as the Bohemians because the Holy Roman Empire player’s objective is to eliminate all Bohemian units and I had one unit of musketeers escape.
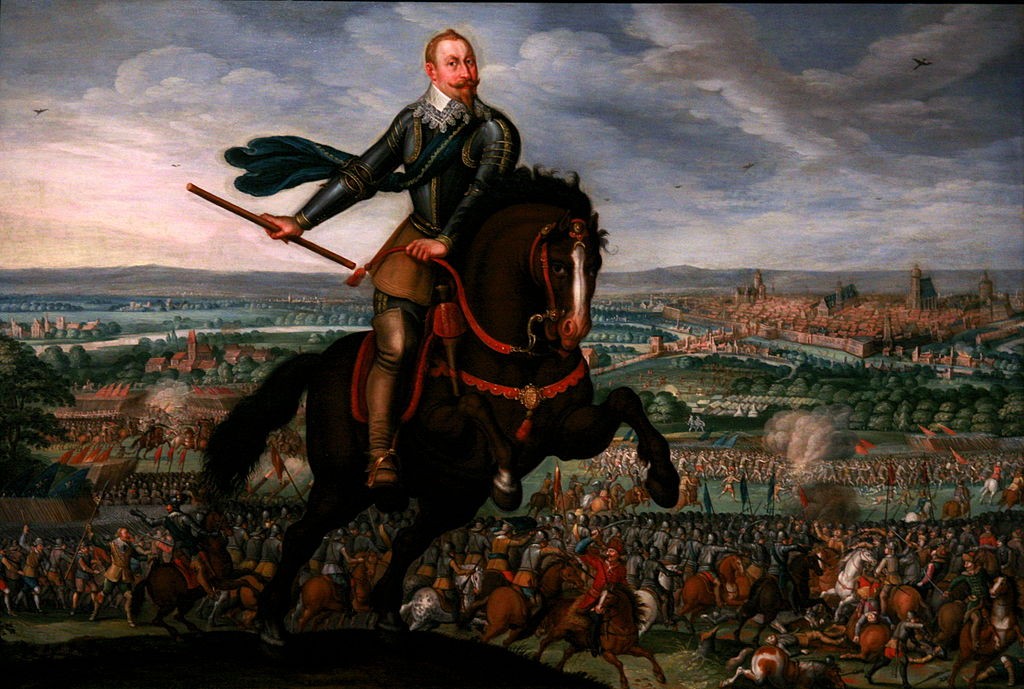
Breitenfeld
Again, Breitenfeld’s setup was ahistorical, but much moreso than White Mountain. The setup has Gustavus charging at Tilly’s forces who are arranged around a hilltop. For a more accurate setup, there are several other keyed starting locations that would offer better. Still, the HRE player needs all the help he can get in this one. “Slightly favors Swedes” in the scenario description was an understatement.
The objective for the Swedish player is to capture all enemy cannons, and the scenario delivered historical results: a massively decisive victory for Gustavus.
One of the neat unit types in this scenario are the German Reiter Cavalry who can make Caracolla attacks. This means ride up, shoot, ride off. This allows a second fire attack during the melee phase as an alternative to melee. I think this could be a useful technique, but my dad didn’t use it to full effect; because of how combat resolution works, it must be paired with melee or a previous fire attack to be as devastating as it could potentially be. My dad opted to use them more as light cavalry on the flanks, which could slow some of my units but ultimately could never deliver any knockout blows.
Killiecrankie
Unlike the previous two battles, Killiecrankie did NOT deliver a historical outcome. I need to go back and double check to see if we did the rules for plug bayonets wrong, but the way we’d played it was the Orange royalist musketeers doubled as light melee troops. This did not reflect that historically Mackay’s forces were unable to fit their plug bayonets in time and were overrun by Dundee’s initial charge.
Musket & Pike’s combat system favors a “one-two punch” style strategy; it is incredibly easy to demoralize enemy troops with gunfire but it is incredibly hard to do more than just demoralize troops with melee. Demoralized troops are eliminated if they get the same demoralization result in the same turn, therefore shoot then charge is the main way you’ll eliminate enemy units. Of course if either side lacks gunfire (such as the Jacobites who, in this scenario, have only one cannon and no muskets), it will be incredibly hard for that side to ever deliver finishing blows to enemy troops.
In our game, when my Jacobite forces made initial contact, the Orange royalist forces began to break and run; it seemed like things would be over quickly, as the Jacobite player’s objective it to just get one unit into the town hex at any point. The Orange royalists quickly recovered, though, and by firing the muskets that they maybe should not have been able to (y’know, the plug part of plug bayonet), they quickly broke my elite infantry.
The scenario guide suggested this slightly favors the Orange Convenantor Royalists, but I got absolutely stomped as the Jacobites and conceded after turn 5 of 15.
Conclusions
Musket & Pike is still a good game, but it is better as a system with which to play your own scenarios than it is for recreating the included historical battles. There are a lot of games out there that cover some of these battles that are much meatier and will better appeal to the tabletop grand marshals out there, but the beauty in Musket & Pike is that it’s the sort of game you could easily play with your kids and get them hooked on historical wargaming. With any luck, they’ll have enough fun playing this you might be able to rope them into more elaborate and more accurate recreations of some of the battles.
-Alex
Please give us your valuable comment